LED Lighting for Displays

LED (Light Emitting Diode) ARRAY lamps produce very little heat compared to incandescent lamps and should have a usable life of about 100,000 hours (over 10 years !), making them ideal for small air volume spaces like glass dome displays. Currently, our LED array lamps are available in two sizes, a four LED array lamp and an eight LED array lamp. Most white LEDs tend to cast a “cold” bluish white light so to help “warm” the color, we have replaced some white LEDs with yellow LEDs in each of the LED array lamps.
 4.46 LED 4 ARRAY Lighting System
|
4.46
LED 4 ARRAY Lighting System
|
|
| 8.09 LED 8 ARRAY Lighting System
|
8.09 LED 8 ARRAY Lighting System
|
|
|
|
LV Power Cord Splitter for LED ARRAY Lighting |
|

LED ARRAY Lighting Installation Instructions
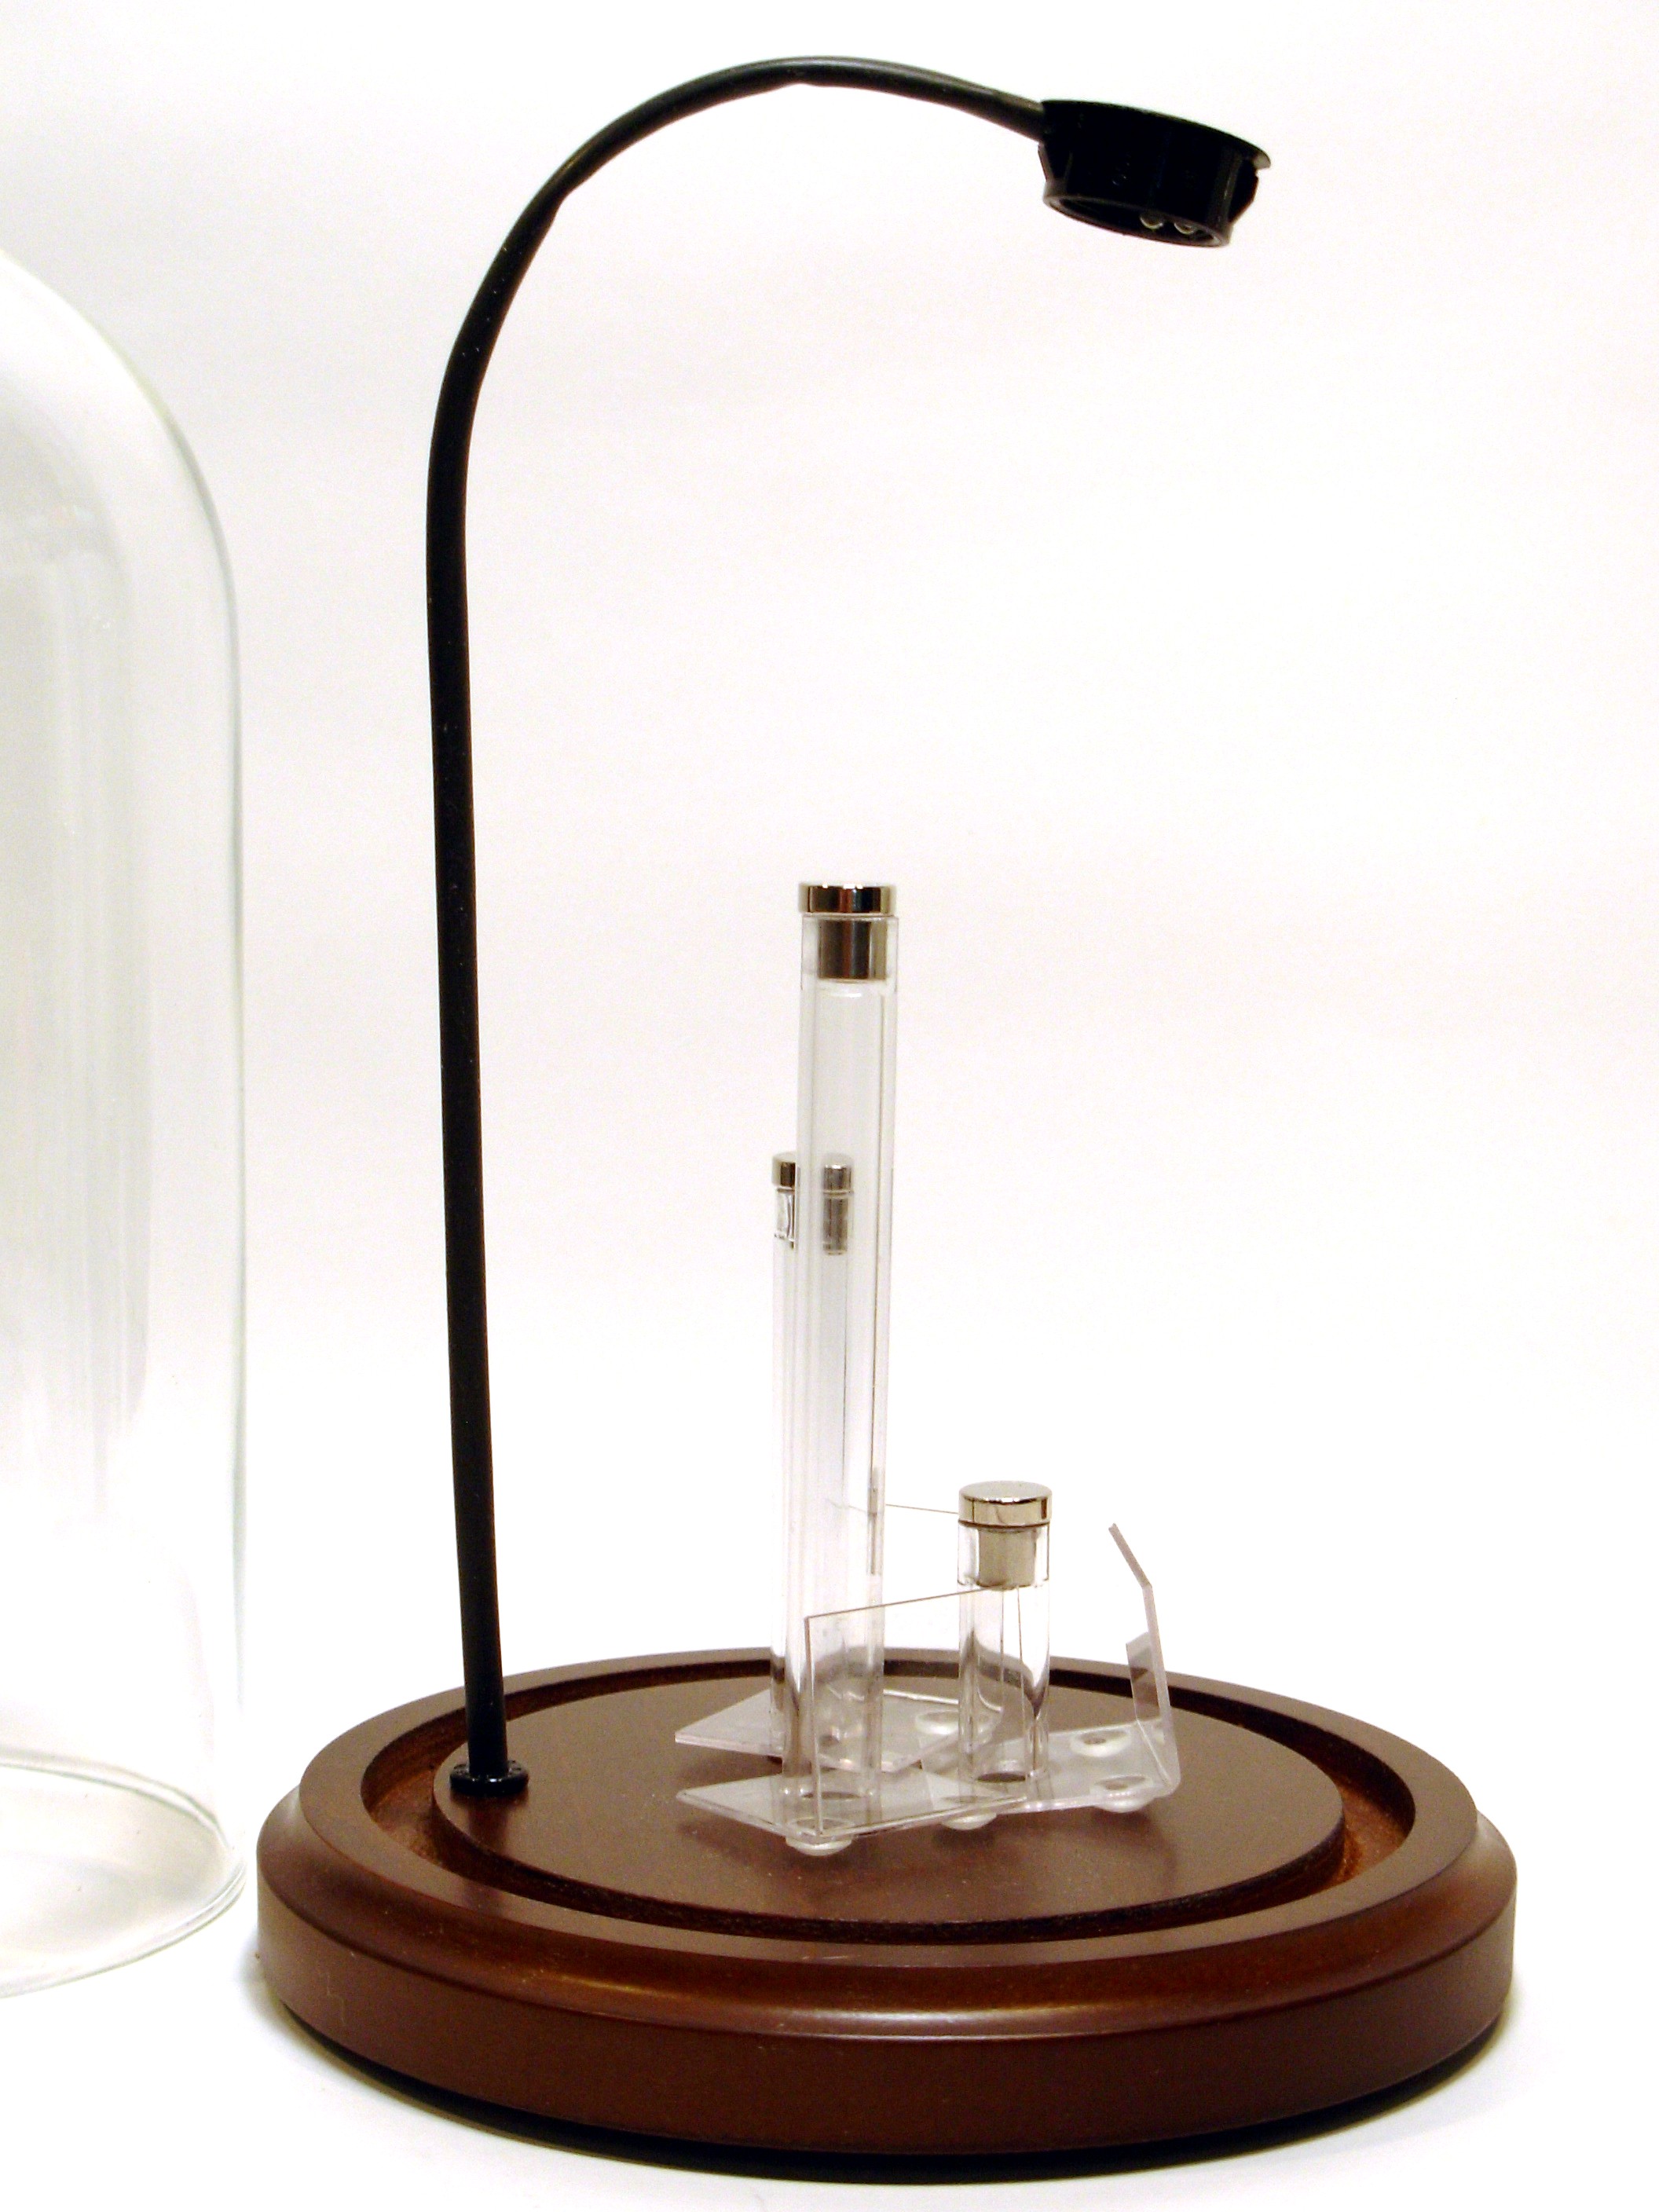
SpaceTreasures.com glass dome displays are modified for the LED array lighting at time of purchase with a ¼” black hole plug located approximately 1/4” from the wood base edge.
If your glass dome display is of an older model, please contact us for drilling instructions or if you wish us to drill the base, contact us at miga@metrocast.net. We will drill your base at no charge but you will need to pay for shipping both ways.
CAUTION: For indoor use only. To reduce the possibility of electrical shock and fire hazard do not use in damp or wet areas. Do not use if wires are frayed or damaged in any way. Do not exceed AC adaptor rated power and do not alter the LV power cord as it contains an over power protection device.
Use ONLY the PCS1 LED ARRAY AC Adaptor to power LED ARRAY LAMPS.
Step 1 Remove the base hole plug by gently pushing it out from the base bottom side using a small screwdriver or the shaft of the provided insertion tool.
Step 2 Position the LED array lamp with the LEDs facing frontward then carefully insert the wires into the mounting hole then STOP! The plastic grommet will be a tight fit.
Step 3 DO NOT try to insert the plastic grommet by pushing on the lamp or the lamp wire. This action will only distort the plastic tubing. Instead, use the insertion tool (Fig. A) supplied with this lamp to press the grommet into the mounting hole and be sure to watch for the wires poking though the bottom of the base. If for some reason you need to remove the grommet from the base, use the shaft on the insertion tool (Fig. B) to press the grommet out. Take care not to get jabbed from the wire ends.


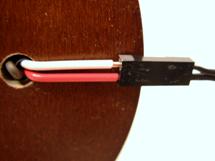
Fig. A Fig. B Fig. C Fig. D
Step 4 Now that the LED array lamp is installed to the base, bend the white and red wires flat towards the edge of the base (Fig. C).
Step 5 Uncoil the PCS1 AC Adaptor LV (low voltage) wire noting the two-pin connector at the wire end. On the connector’s end are two holes, one for the red wire and one for the white wire of the LED array lamp. Plug the connector onto these two wires (Fig. C) with the white wire on the same side as the white stripe on the connector.
Step 6 Plug the AC Adaptor into a 120VAC wall outlet. The LED array lamp should light.
If the LED array does not light, check the LED lamp connector to be sure the wires are fully inserted and review step 5, as the LED array lamp is polarity sensitive. If the LED array still fails to light, unplug the AC Adaptor from the outlet and check outlet for power by trying another device (i.e. desk lamp). Please contact us if system still fails to function.
Step 7 Gently bend the LED array lamp support wire as to try and match the arc of the glass dome. Try not to make sharp bends, as they are difficult to make smooth again. Test the glass dome for fit and readjust the support wire as desired.
Final tip: The support wire is slightly long to allow positioning the LED array to the front and tilt slightly toward the back rather than directly overhead. Try viewing a specimen and fine adjust the support wire with the glass dome removed.
IMPORTANT NOTE: The PCS1 (AD-6500RDU) AC adaptor will run warm to the touch but never hot. If at any time the AC adaptor is hot or smells hot, discontinue use immediately and purchase a replacement. Use PCS2 LV (low voltage) splitter to power up to four LED ARRAY LAMPS from one PCS1 AC adaptor.
Enjoy and let us know what you think! miga@metrocast.net PUB 06-20-07